Blark Just Got Faster - and Now Lives on Your Wrist
This update to Blark is all about speed, reliability, and staying present when the moment matters.
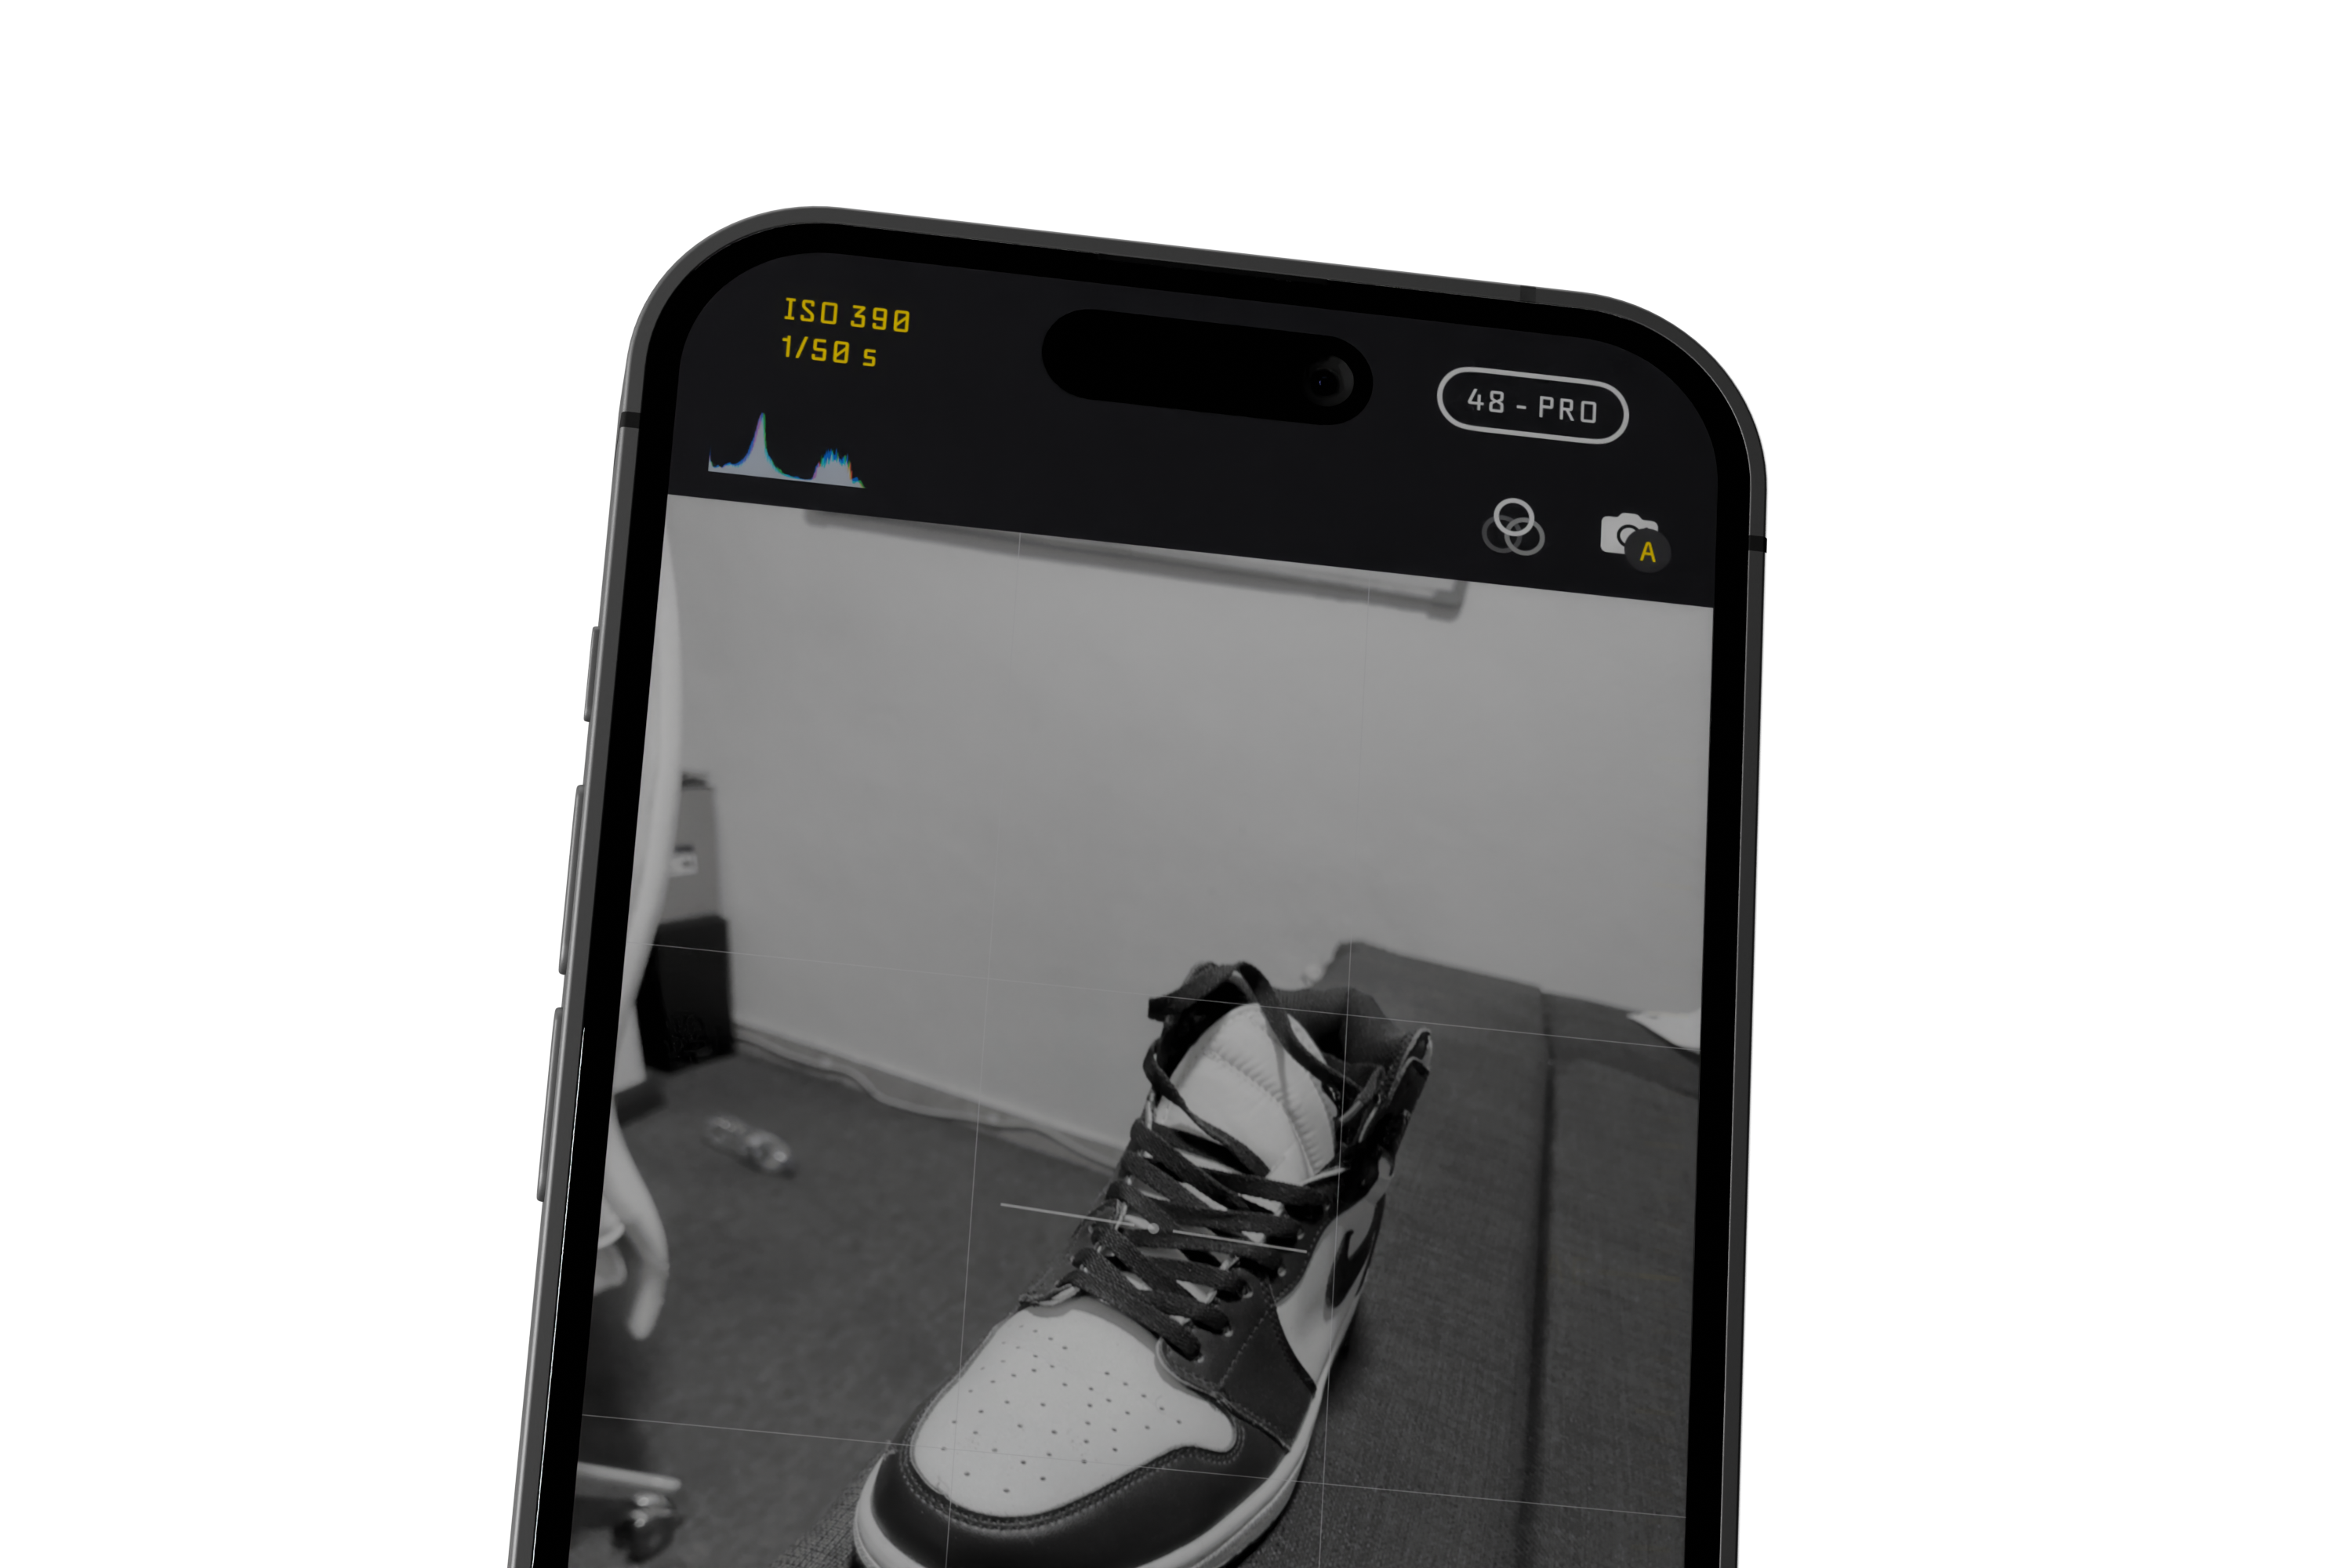
We've made significant performance improvements across the app to make Blark faster and more responsive, so the camera is always ready when inspiration strikes. We also fixed a critical crash affecting iPhone 12 Pro users, resolved an issue that could cause crashes when shooting in RAW, and made camera lens switching smoother and more consistent for a better shooting flow.
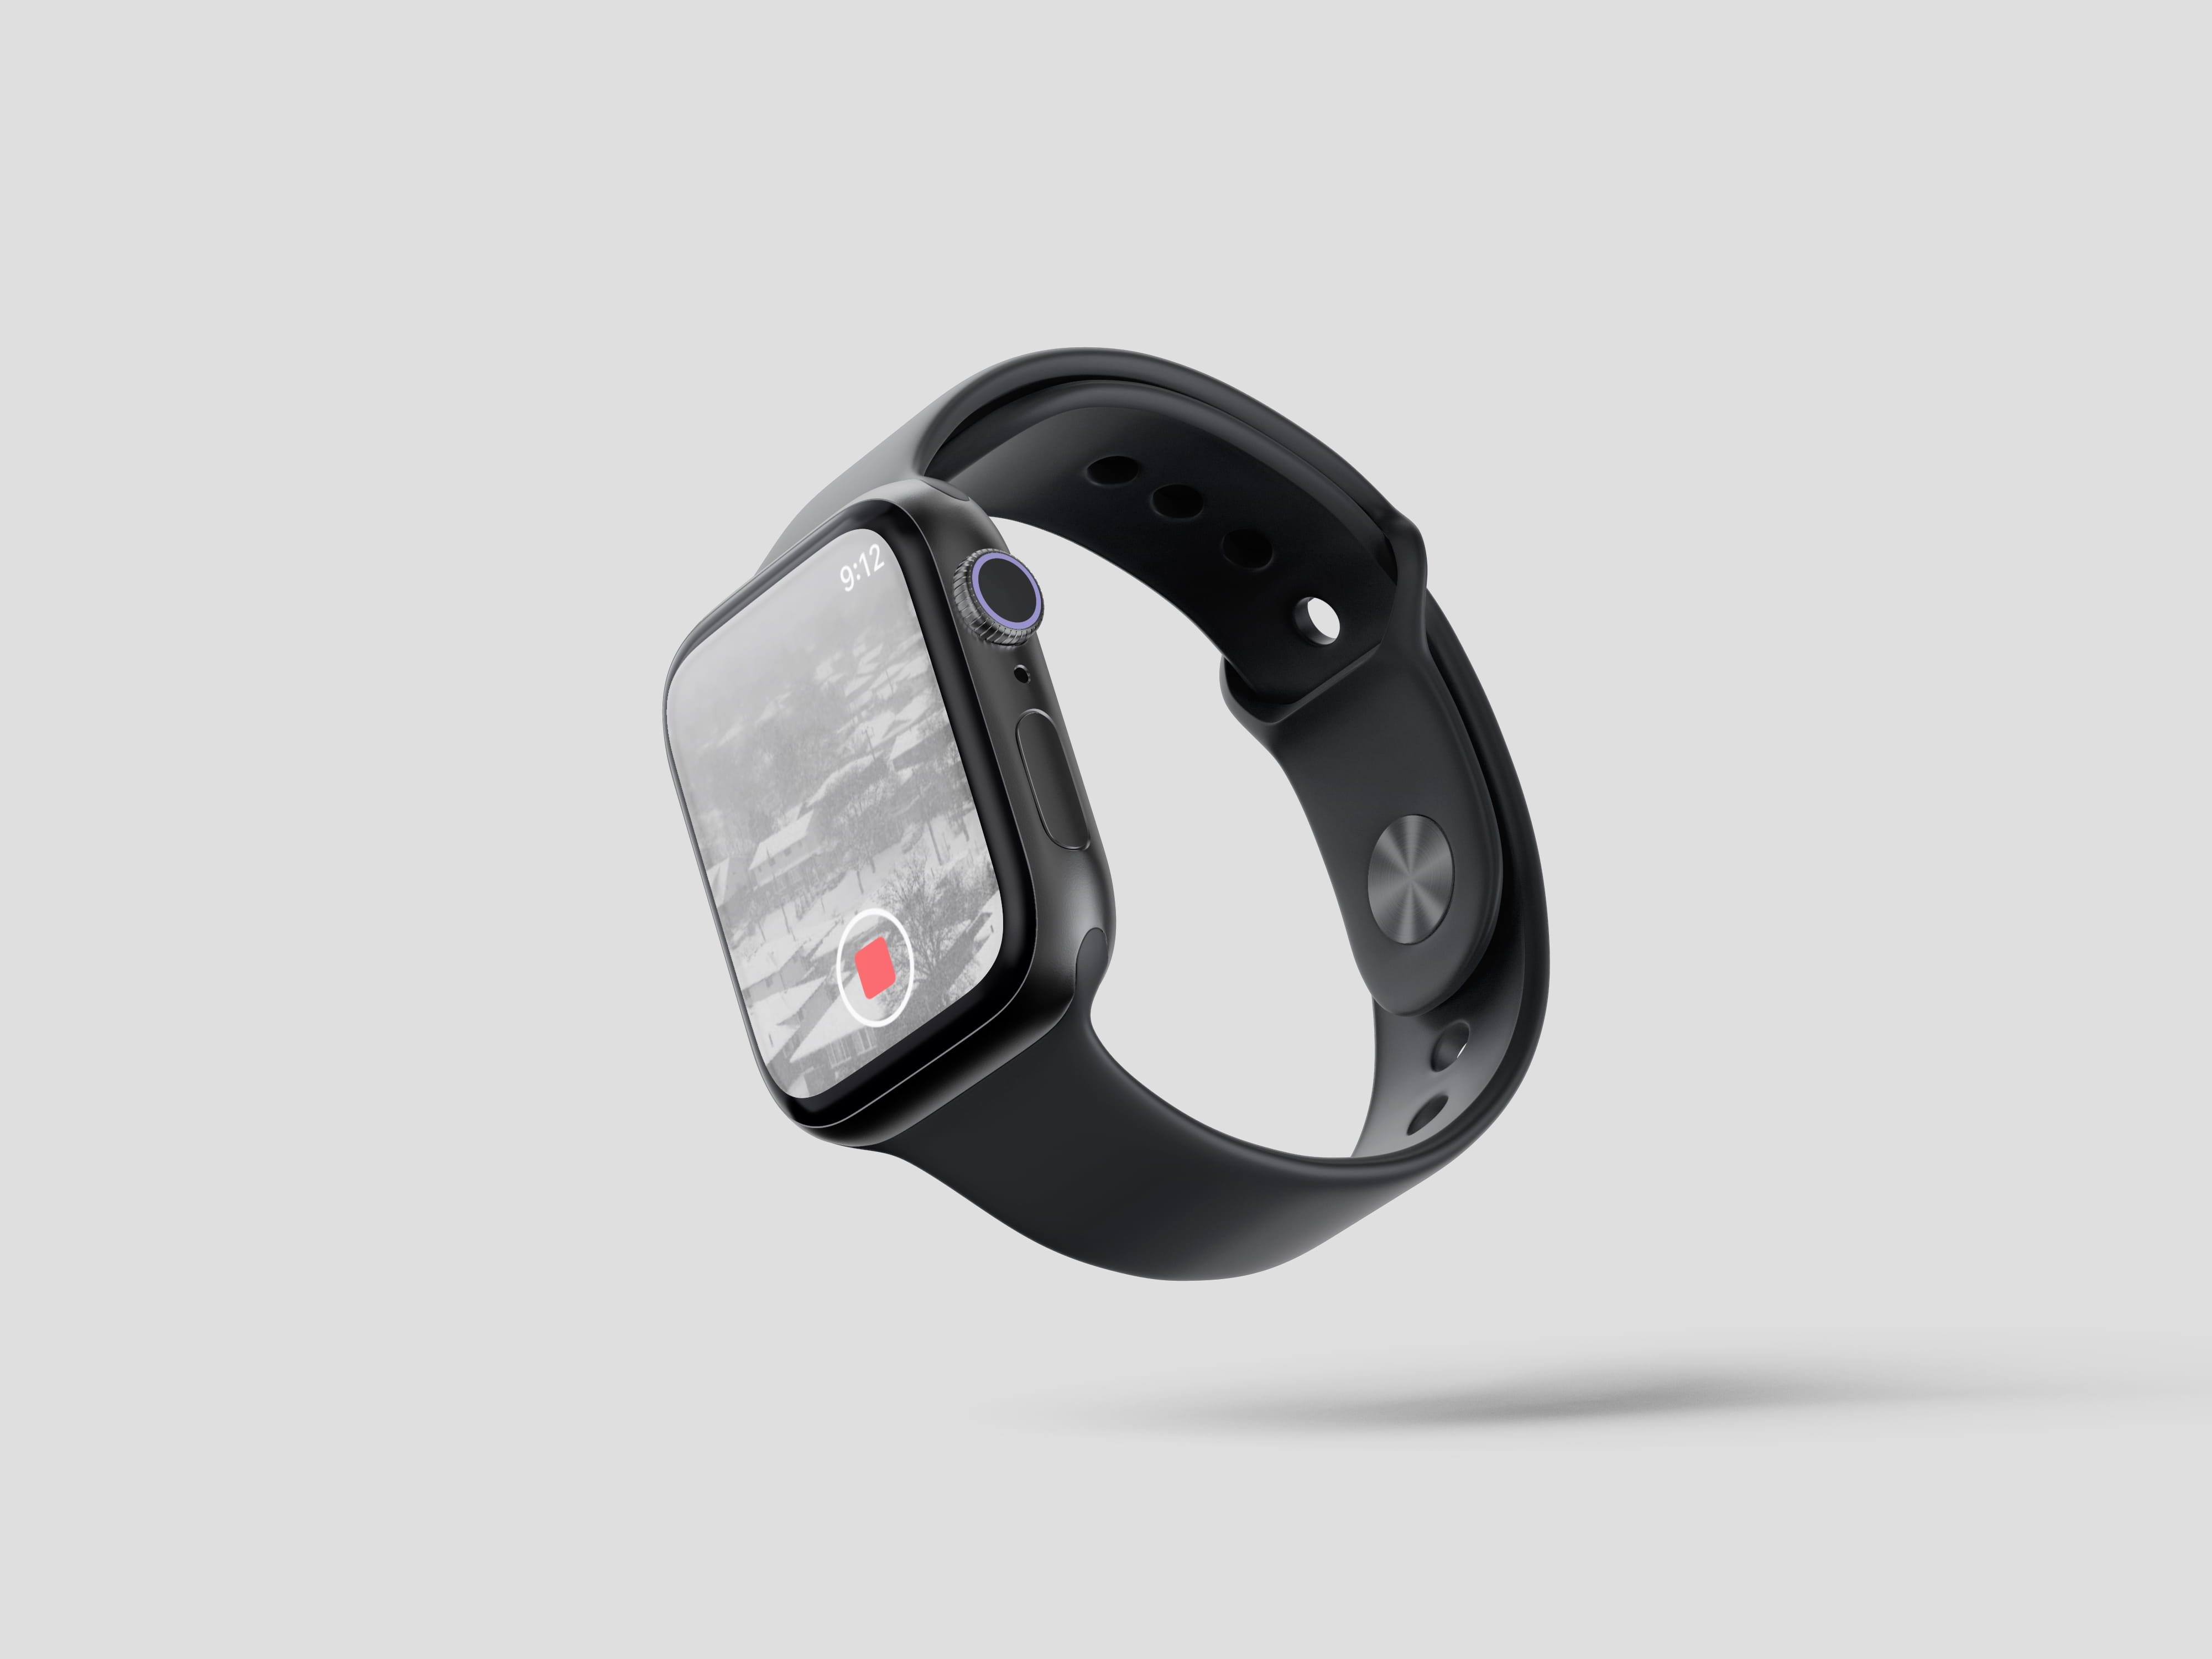
Introducing Blark for Apple Watch ⌚️
One of the highlights of this release is Blark for Apple Watch. With the new companion app, you can remotely snap photos or record video straight from your wrist. It's perfect for street photography, self-portraits, tripods, or any moment where staying discreet and hands-free makes all the difference.
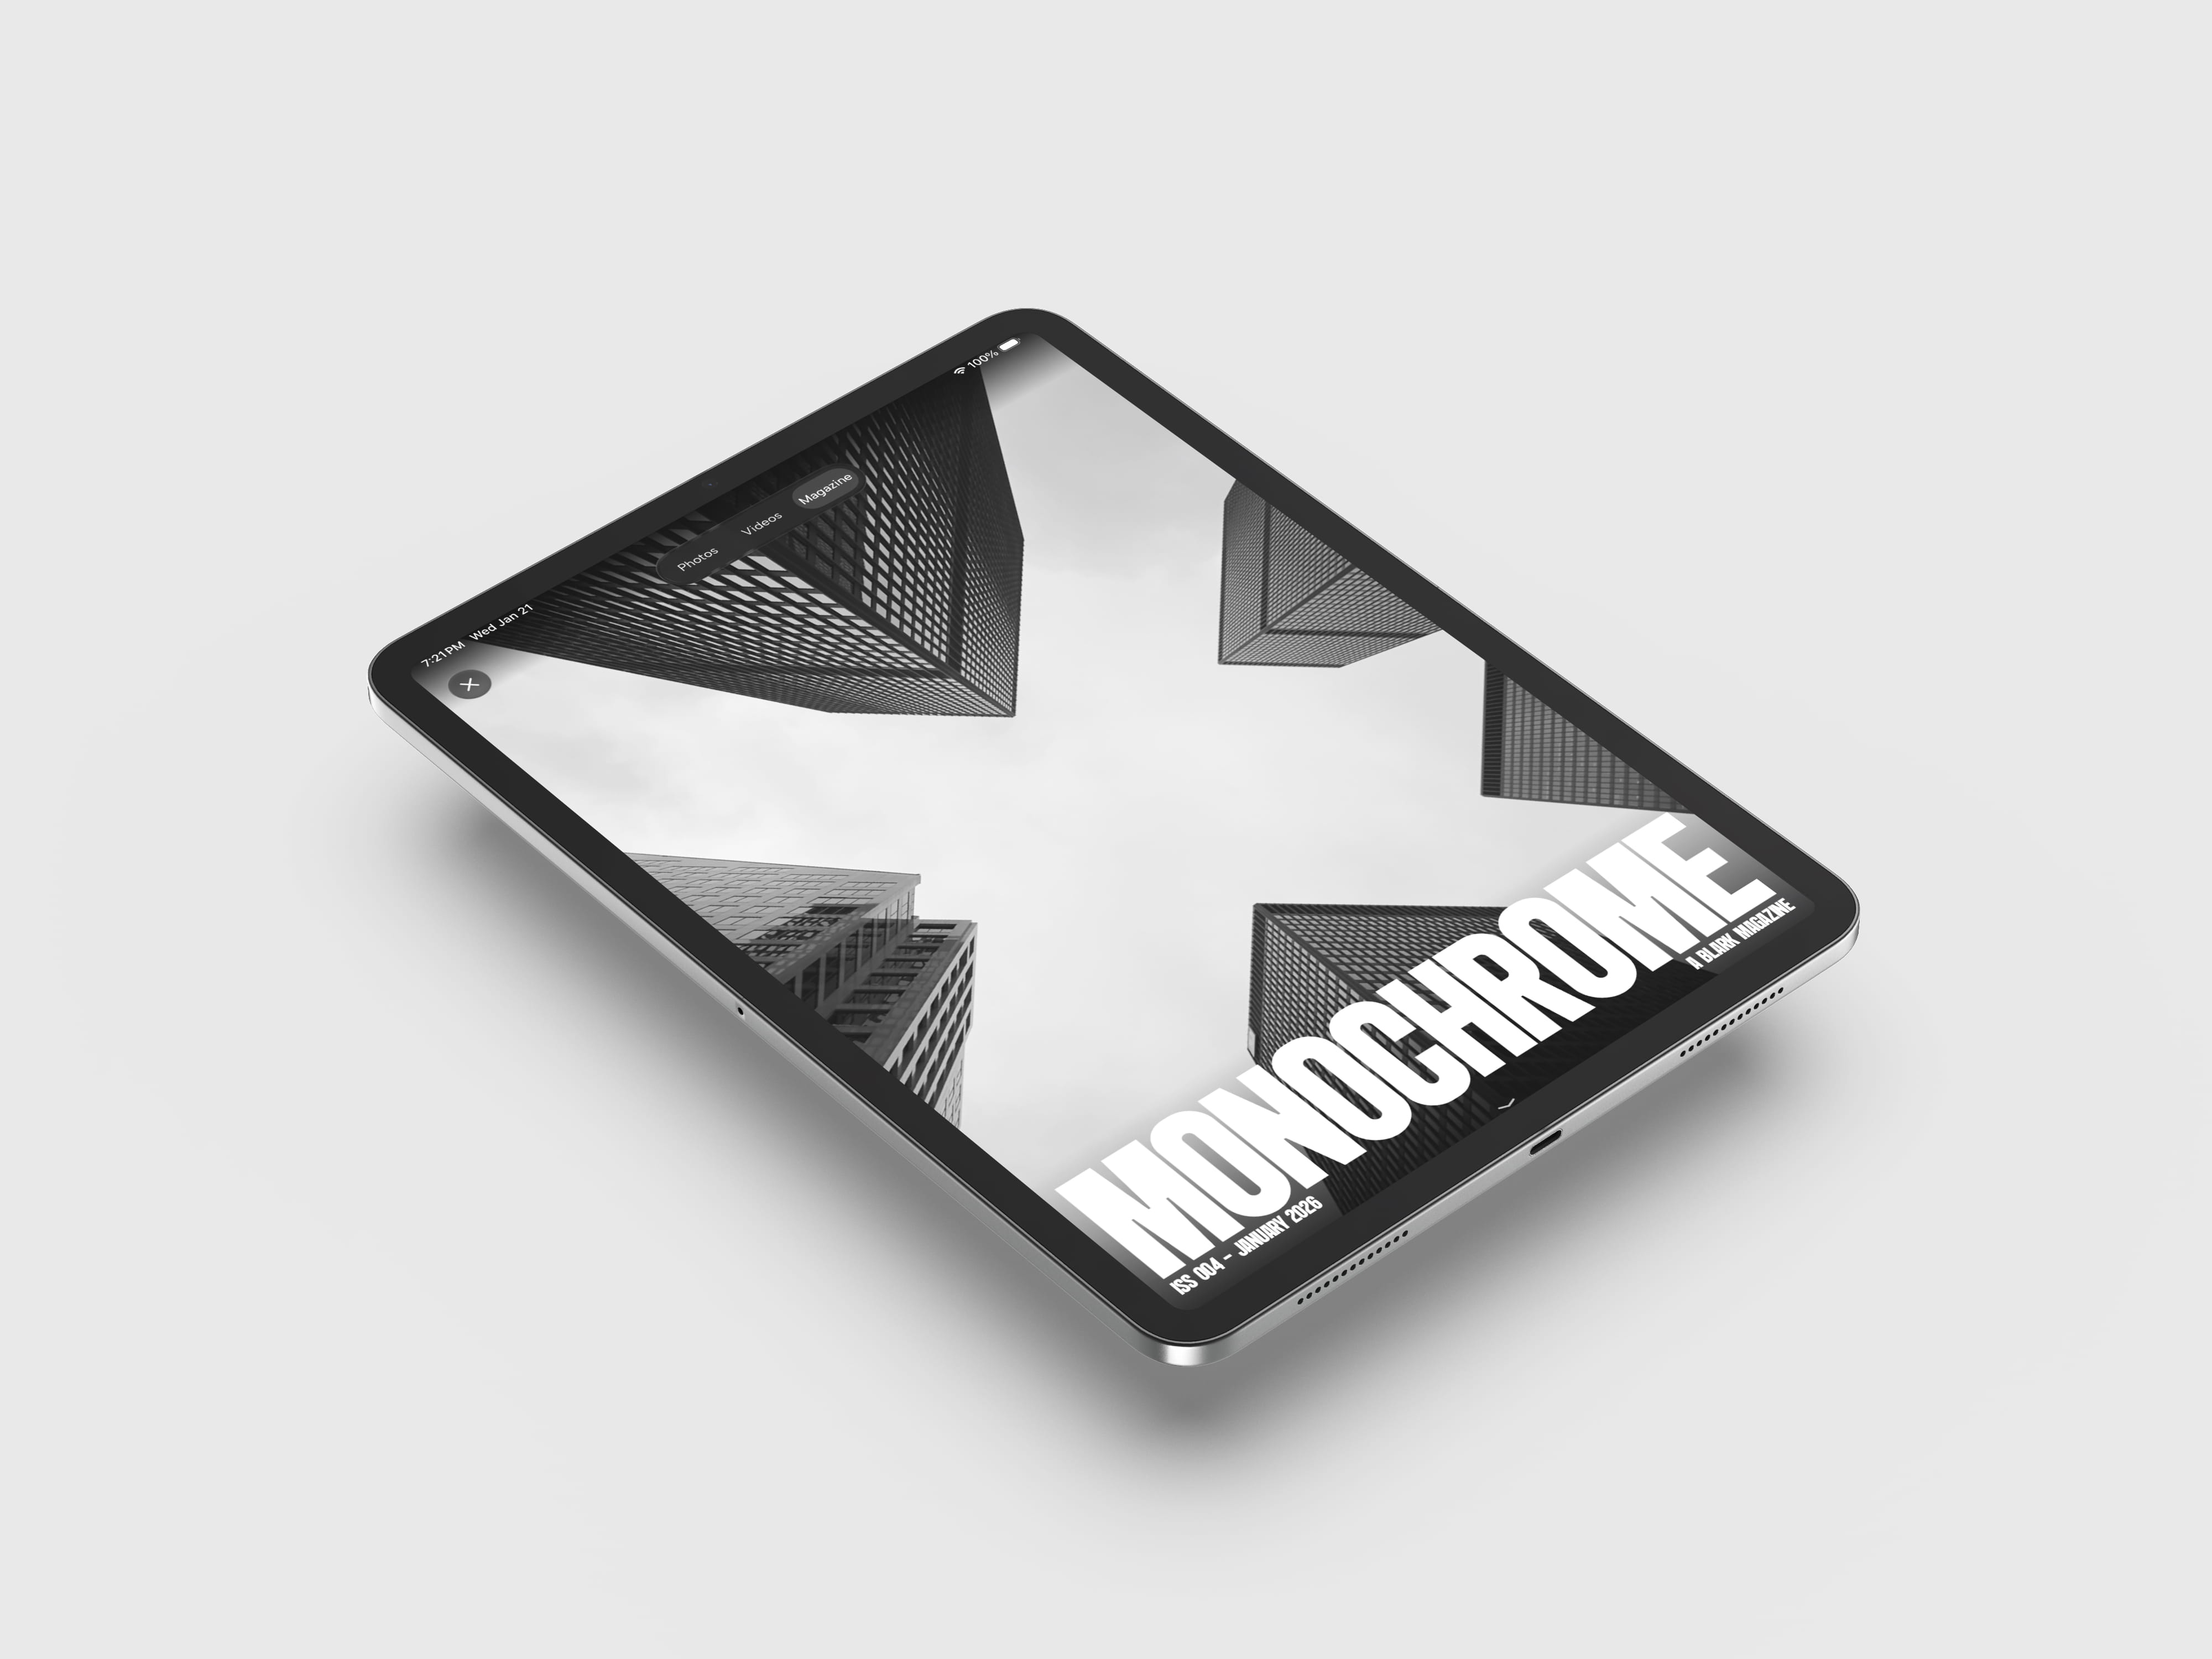
Meet Monochrome
We're also excited to introduce Monochrome, a new Blark magazine dedicated to black-and-white photography. It features standout work from creators around the world, along with thoughtful tips, guides, and perspectives to help you push through creative blocks, refocus, and shoot stronger monochrome images.
Built for the Craft
Blark continues to treat black-and-white photography as a craft, not a filter. Every update is guided by one goal: helping you see more clearly, move faster, and stay focused on what matters most - the image.
Update Blark today and keep shooting. Get Blark